Saturday, 4 February 2012

More Calendar Recycling!

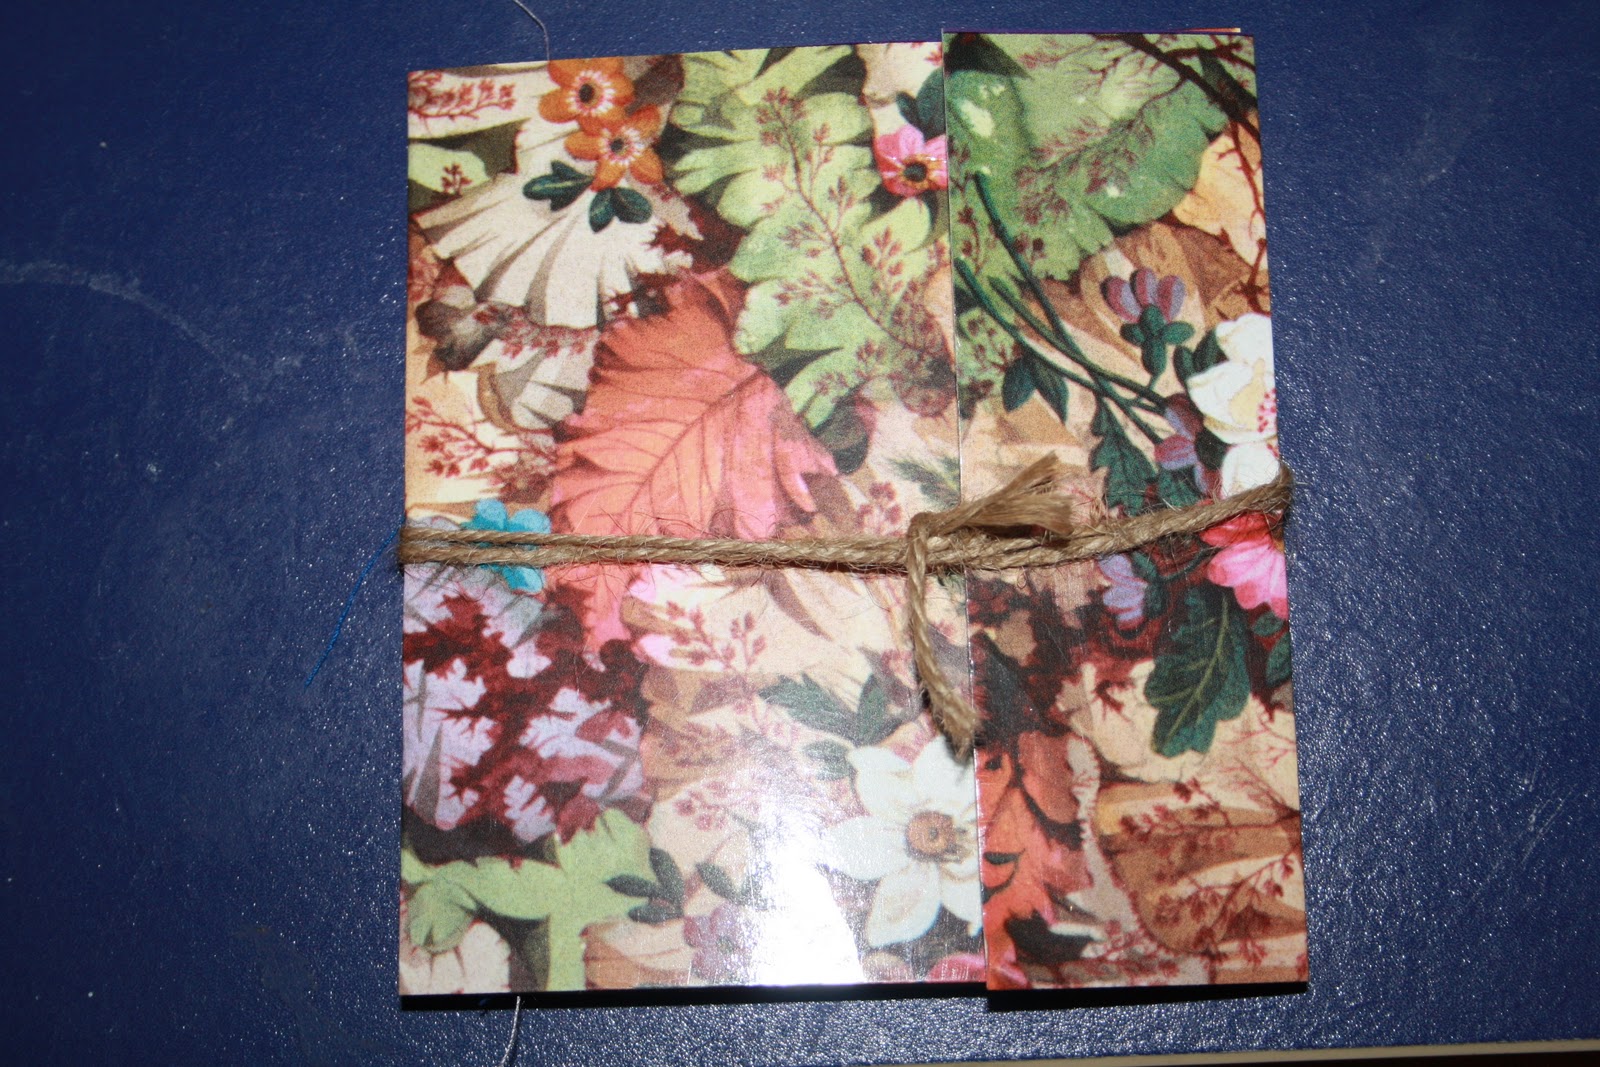
I also made the old calendar into a couple of little notebooks. 
  1. I made them in a very similar way to the earring holders; the main difference is that I back the patterned paper on light card - the same thickness you'd use to make a greetings card is best. I just used a glue stick to attach the calendar page but a spray on adhesive would give an even and thorough coverage.

2. For the pages, I cut out lined paper from a very boring plain spiral bound notepad. 

3. I had to experiment with how many pages of paper the sewing machine could cope with (again using the needle now devoted to sewing paper). I think about 20 is the absolutely maximum but the trick is to try a couple of millimetres of paper and if the needle doesn't push through not to force it. Just remove a few sheets until the needle can push through the sheets without too much effort. 

4. I used a wide stitch again (remember too small a stitch and the paper will just tear). I sewed a straight stitch and then a zigzag for extra strength.  


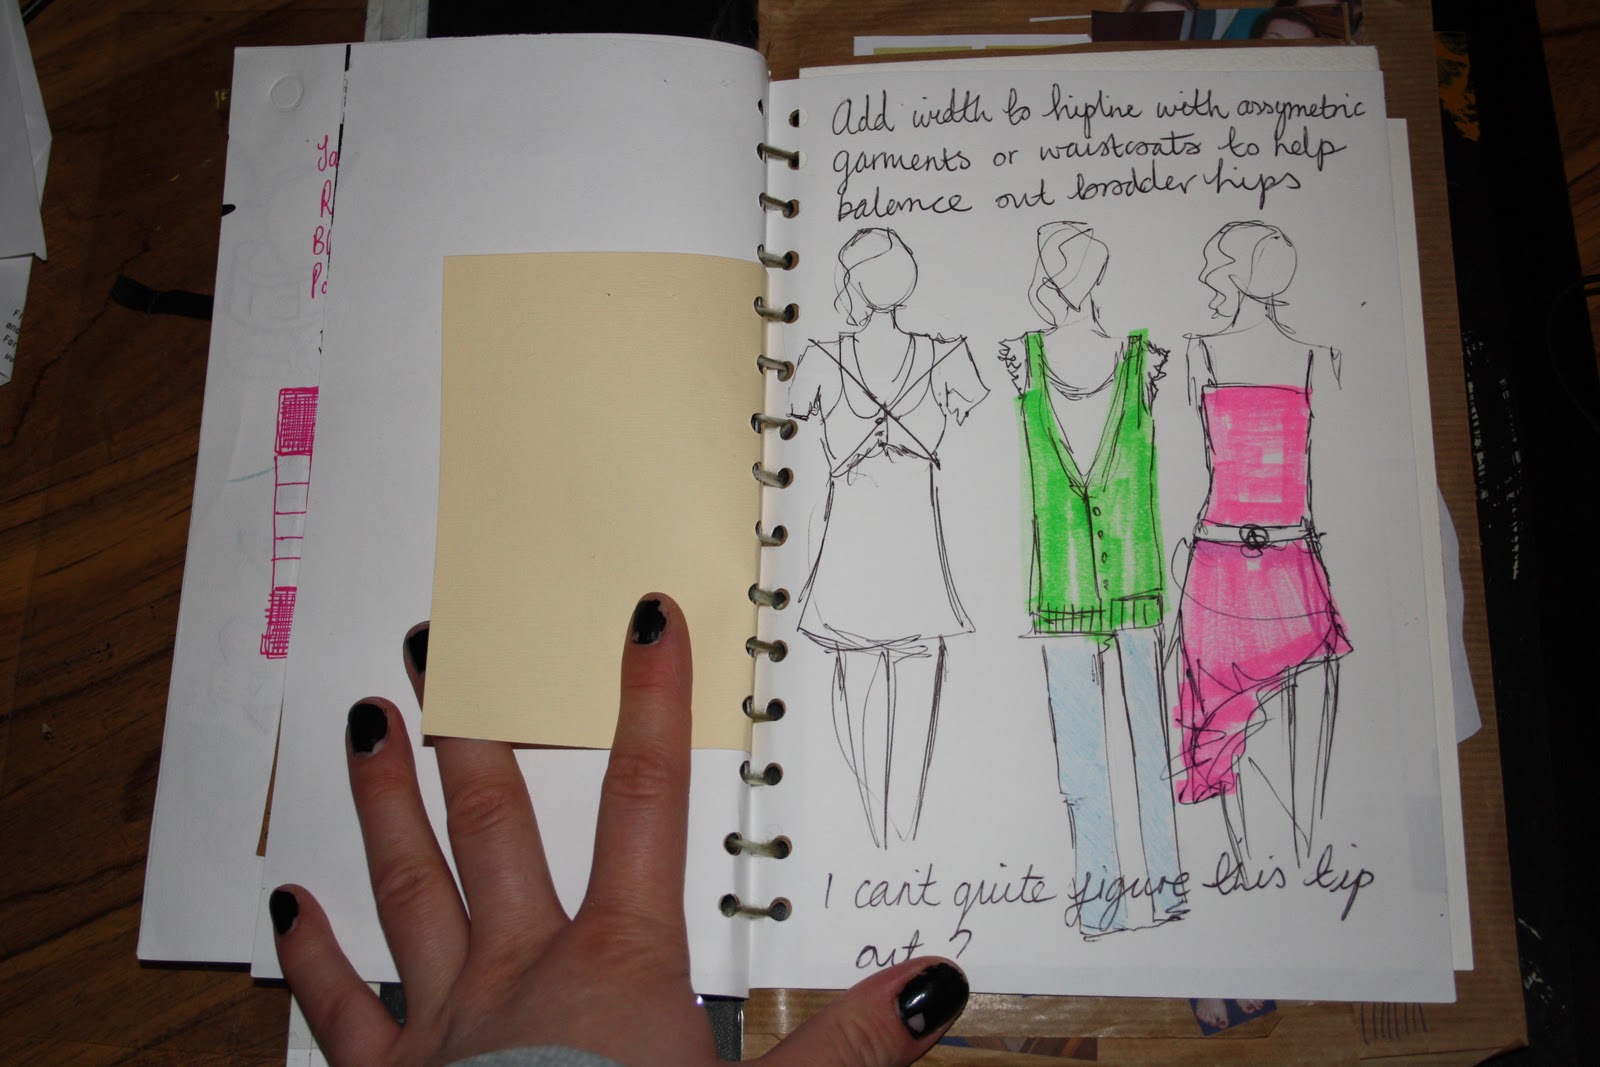
My new notebook is going to be used to jot down ideas for my blogs! 
Have you seen my art blog? 


For my second book I sewed lined paper on one side  and left the other side free to decorate with another pattern. 


XXX


Tuesday, 31 January 2012

Recycling Old Calendars

I had a HUGE MASSIVE deadline last week and worked on nothing but my essay for many many hours and days. 
So when I finished I celebrated by crafting! I put on Downton Abbey Christmas special (which I had recorded for this exact purpose) and sat for hours with an old calendar and lots of ideas!


The first thing I made was an earring holder. I stay at my boyf's on the weekend and this is a great way of carrying them. 


1. The cover of the calendar was double sided so I cut it up and folded it so it had a wrap round cover. 
2. I then cut two pieces of felt slightly smaller that the back of the 'book'
3. Next, I sewed the the two pieces of felt to the back. I didn't change the needle in my machine but I suspect that sewing through the card might blunt the needle a bit so I think I'll save a particular needle for stuff like this. I used a wide zig-zag stitch because if the stitch is too small the card might rip. 
5. Then you can just wiggle the earrings through the back piece of felt. The top piece protects the card from the earrings. 
6. I had a plastic packet that I safety pinned to the front piece to keep some hair pins and stud earrings in. 


7. I punched a hole in one side and tied some twine to tie it shut. 


I made two earring holders. One with a contrasting felt page and one with a purple foam page. They both sew really easily. 


Monday, 30 January 2012

The Look Book!


The Look Book! 
Soooo... I am on a quest for the perfect wardrobe.

I want to feel good in my clothes. I want to be able to pick out an outfit and know it works without spending ages on it every morning.

 In the summer me and my mum went through our wardrobes and sorted out the colours which suit us best (on the advice of Trinny and Susannah). You basically hold all your clothes up to your face and it becomes obvious which are best for you. I was sceptical but some colours will make the circles under my eyes darker, other will brighten my eyes or give me rosy cheeks. It might sound like Bridget Jones' mum but trust me!! 

When I decided on the colours that suited me best (dark, rich colours - olive, sapphires, plums) I went on a paint website and copied a selection of 'my colours' and printed them off. You could even go and get paint swatches from a DIY shop. 

THEN 

I took to the body shape test!! It's a really good test - and you end up with a body shape and rules to follow for the clothes that suit you best!

After I had my rules and my colours I made outfits with my wardrobe and cut out the things I knew really didn't flatter me. Now I know rules are made for breaking but there were some things I knew I don't feel good in and feeling good is my one and only aim!

Finally the best bit! Me and mum had a little fashion shoot with the outfits that looked best. This was not just fun but it meant that I could see the rules in action. The clothes I looked best in made me feel my best and I could see my posture improve - my confidence was literally visible!

To make it easy to remember my rules and continue my new, improved, habits I made a look book. It contains the photos of my outfits, the colours I suit and a list of my rules. Once I had them I also started scribbling ideas of how I could interpret the rules and things that inspired me.

There is a wealth of inspiring blogs out there to get you inspired.
Here are two of my favourites!
For tips on wardrobes and look books have a good look round Gala Darling:
http://galadarling.com/article/preparing-for-2008
Elsie Larson - my blogging hero!
http://abeautifulmess.typepad.com/my_weblog/home_decor/page/2/

I hope my look book will help me to develop my own personal style by showing me the things I love the best!
Happy Wardrobes! 


That Swing Thing!

Welcome to the Wonderful World of Swing Dancing! 
Born from the jazz age, swing is a Lindy hopping, Charlston bopping good time for 
absolutely everyone.
I've been dancing for about a year and a half and these photos are from Leeds University Swing Soc's Christmas Swing Thing. I had a play on photoshop to give them a vintage feel. 
It was a super night! 


XXX

Thursday, 15 December 2011

Fun Stuff


Just some fun shots of my room in Bristol and some yummy make up and jewelry shots. 
I really like shots of everyday objects that take up the whole frame - it makes for such awesome colours and great inspiration for new looks.